How to Select One Single Monitor in Chrome Remote Desktop
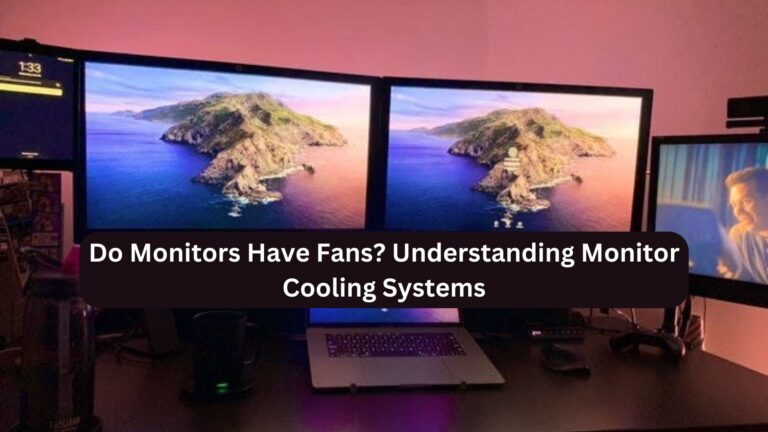
Managing multiple monitors while working remotely can become challenging, especially if you’re using tools like Chrome Remote Desktop to access your devices. By default, Chrome Remote Desktop displays all connected monitors at once, which may reduce efficiency.
Knowing how to select one single monitor in Chrome Remote Desktop can help streamline your work experience and improve productivity. This guide will explain the steps to focus on one monitor and optimize your remote work setup.
Why Select One Single Monitor in Chrome Remote Desktop?
By default, Chrome Remote Desktop may show all connected monitors on the remote machine, which can:
- Clutter your screen and make it harder to focus.
- Use more bandwidth by transmitting data from multiple monitors.
- Decrease responsiveness due to the increased data being streamed.
Understanding how to select one single monitor in Chrome Remote Desktop allows you to simplify your workspace, reduce lag, and improve overall productivity.
How to Select One Single Monitor in Chrome Remote Desktop: Step-by-Step Guide
Follow these steps to select one single monitor in Chrome Remote Desktop and ensure a smoother, more focused remote experience:
1. Install Chrome Remote Desktop
If you haven’t already set up Chrome Remote Desktop, follow these steps:
- Open your Chrome browser and visit remotedesktop.google.com.
- Follow the instructions to install the Chrome Remote Desktop extension on your device.
- Set up remote access by adding your machine and creating a PIN.
This is the initial step before you can learn how to select one single monitor in Chrome Remote Desktop.
2. Open Chrome Remote Desktop on Your Client Device
Once installed, open Chrome Remote Desktop on the device from which you will be connecting remotely. Make sure you’re signed in with the same Google account on both the host and client devices.
3. Connect to the Remote Device
- In Chrome Remote Desktop, locate the computer you want to connect to and click “Connect”.
- Enter the PIN you set up during installation to gain access to the remote machine.
4. Select the Monitor Option in the Settings
Once connected, Chrome Remote Desktop will default to displaying all monitors. To change this and focus on a single monitor:
- Click the Settings button (gear icon) at the top of the Chrome Remote Desktop window.
- Scroll down to the Displays section.
- You will see options to either view all monitors or select a specific display.
5. Customize Display Preferences
To focus on just one monitor:
- Uncheck the boxes next to the monitors you don’t want to view, leaving only the monitor you need selected.
By following these steps, you will have successfully learned how to select one single monitor in Chrome Remote Desktop.
Benefits of Selecting One Single Monitor in Chrome Remote Desktop
Once you know how to select one single monitor in Chrome Remote Desktop, you’ll experience several key benefits:
1. Better Focus and Productivity
By displaying only one monitor, you eliminate unnecessary distractions, allowing you to focus better on specific tasks.
2. Reduced Lag and Bandwidth Usage
Displaying multiple monitors simultaneously increases the amount of data transmitted, leading to potential lag. Selecting a single monitor in Chrome Remote Desktop reduces the data load, improving responsiveness and connection stability.
3. Improved Multi-tasking
If you often juggle tasks across different screens, focusing on one monitor at a time simplifies management, especially during remote work sessions.
Troubleshooting: What to Do If You Can’t Select One Single Monitor
If you encounter issues when trying to select one single monitor in Chrome Remote Desktop, here are a few troubleshooting tips:
1. Update Chrome Remote Desktop
Ensure you’re using the latest version of Chrome Remote Desktop. Software updates often fix bugs and introduce new features, which may resolve your issue.
2. Check Monitor Settings
Verify that all monitors are properly connected and recognized by the host machine. Sometimes, Chrome Remote Desktop cannot differentiate between displays due to system setting errors.
3. Try a Different Browser or Device
If the option to select a single monitor isn’t available, try connecting via a different browser or device to rule out compatibility issues.
FAQs About How to Select One Single Monitor in Chrome Remote Desktop
1. Can I switch between monitors after I’ve connected in Chrome Remote Desktop?
Yes, you can switch between monitors even after you’ve connected. Simply access the Settings menu in Chrome Remote Desktop and choose a different monitor.
2. What if I want to view all monitors at once?
To view all monitors at the same time, go to the Settings menu and select the option to display all connected monitors.
3. Does selecting one monitor improve performance?
Yes, selecting one single monitor in Chrome Remote Desktop reduces the amount of data that needs to be transmitted, resulting in better performance and faster response times.
4. Can Chrome Remote Desktop support more than two monitors?
Yes, Chrome Remote Desktop supports multiple monitors. You can choose any one of the connected monitors to display on your client device or switch between them.
5. Is there a specific operating system requirement for selecting one monitor?
No, Chrome Remote Desktop works across multiple operating systems, including Windows, macOS, and Linux. As long as the software is correctly set up, you should be able to select a monitor.
Conclusion
Knowing how to select one single monitor in Chrome Remote Desktop can greatly enhance your remote working experience. By selecting a single monitor, you can optimize productivity, reduce bandwidth usage, and improve performance.
Whether you’re using Chrome Remote Desktop for work or personal projects, following these steps ensures a smoother, more focused workflow tailored to your specific needs.


